
Transcribe audio and video to text on Mac
Turn speech in audio or video into text or subtitles with Apple's on-device speech recognition.
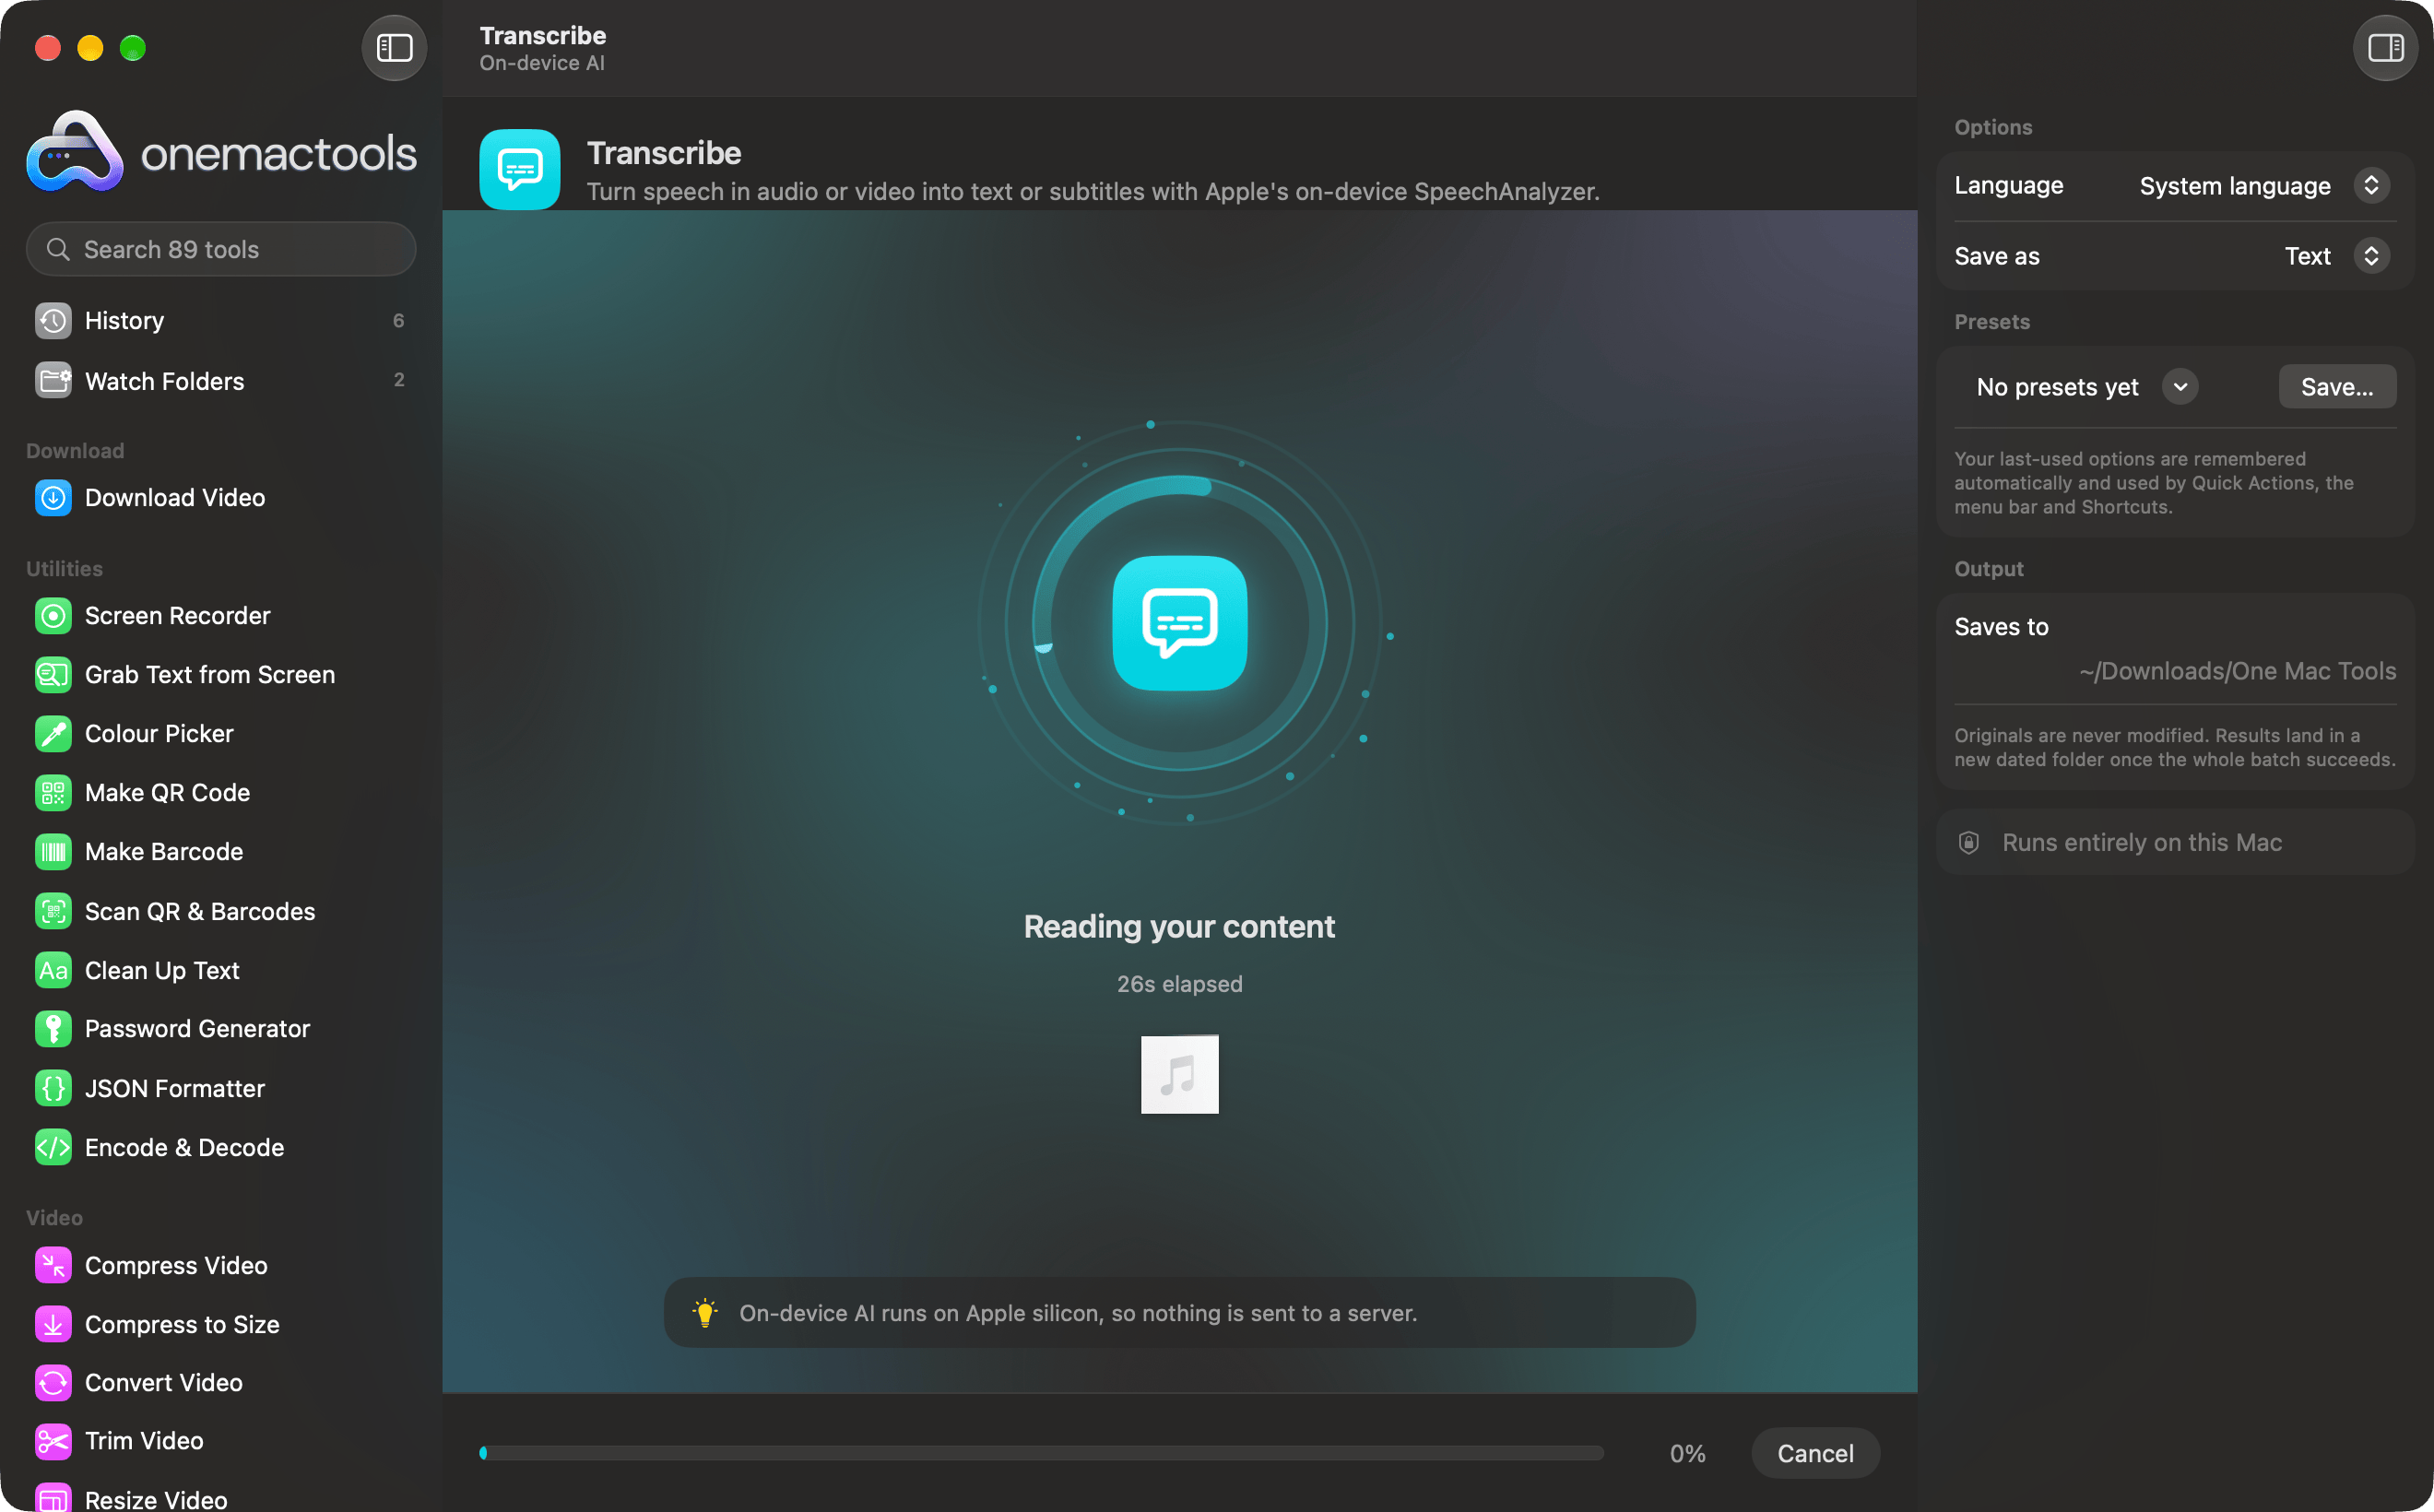
Transcribe on a Mac
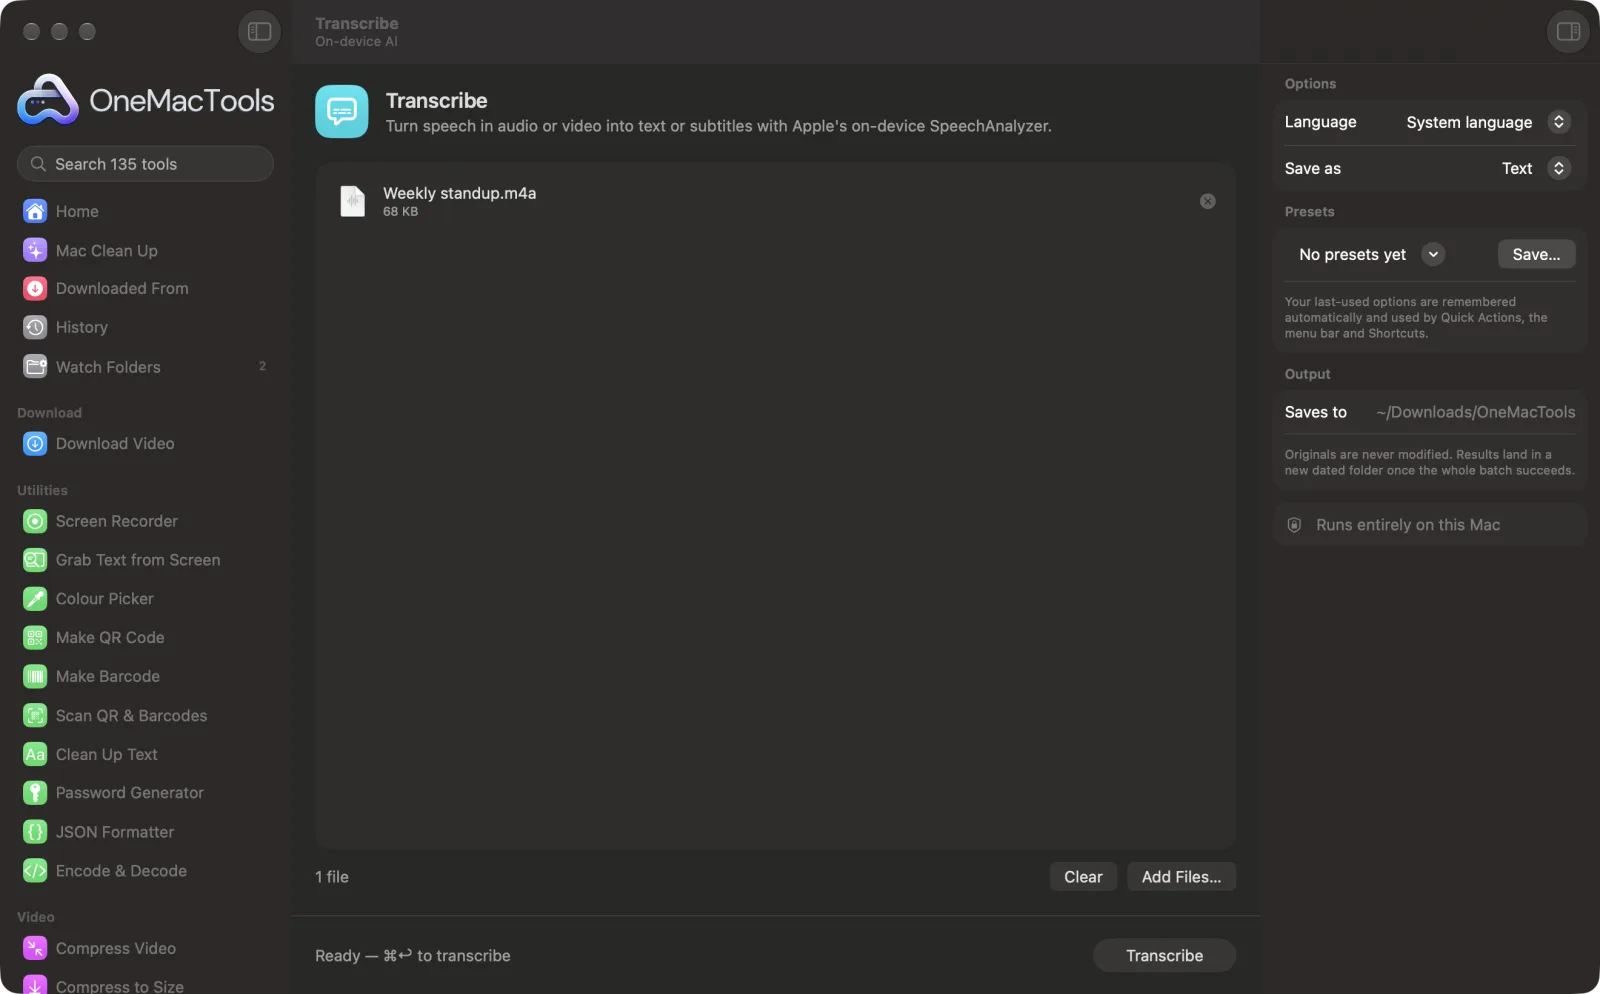
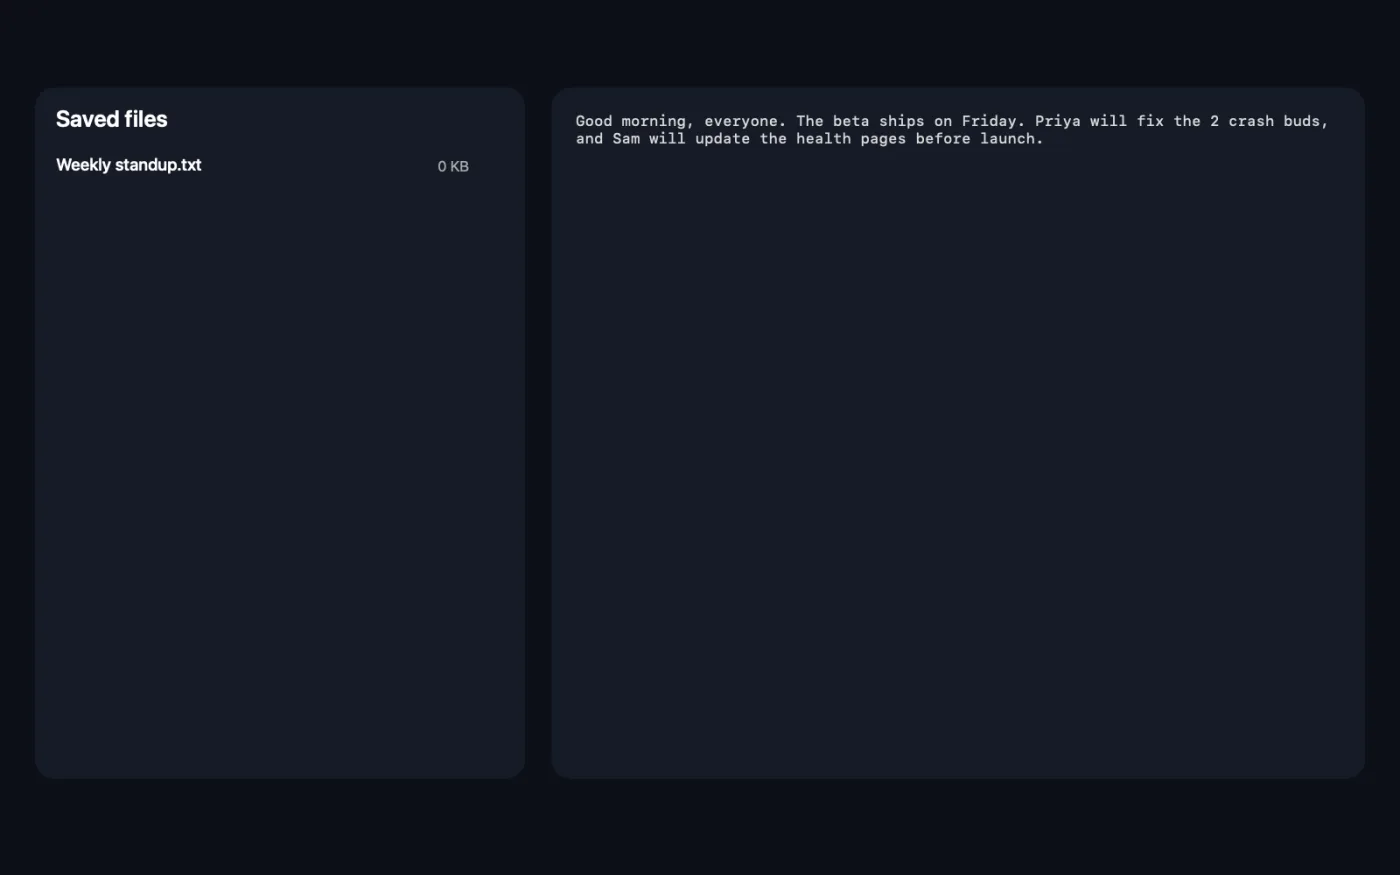
Screenshots from the app, using sample files.
How to use Transcribe
- 1
Add the recording
Drop audio or video files onto Transcribe: interviews, lectures, voice memos or MP4 and MOV videos. Or select them in Finder, right-click and choose Quick Actions › OMT: Transcribe, which uses your last settings.
- 2
Choose the language
In the right-hand panel, set Language to the language that's spoken. System language uses your Mac's own.
- 3
Choose text or subtitles
Set Save as to Text for a transcript, or Subtitles (SRT) for timed captions.
- 4
Click Transcribe
Apple's on-device speech recognition writes down what's said. For videos, the soundtrack is taken out first. The first time you use a language, macOS may need to download its speech model.
- 5
Open the transcript
A .txt or .srt file named after each recording is saved in a new dated folder in Downloads › OneMacTools. Open it with the Preview (eye) button or Show in Finder.
What Transcribe does
Transcribe interviews, lectures and videos into plain text or timed SRT subtitles, in English and other major languages, without uploading the recording.
It's also a Finder Quick Action: right-click files and choose OMT: Transcribe.
Great for
- Transcribe an interview
- Make subtitles for a video
- Turn a lecture into notes
Options explained
- Language
- System language, the default, uses your Mac's language. You can also choose Chinese, English (India), English (UK), English (US), French, German, Italian, Japanese, Korean, Portuguese or Spanish. If on-device transcription doesn't support the language yet, you're told before anything runs.
- Save as
- Text, the default, saves the whole transcript as plain text. Subtitles (SRT) saves numbered, timed captions you can load in a video player or upload with a video.
Best practices
- Clear audio gives the best transcript. Record close to the speaker and avoid music and background noise. Clean Up Audio can reduce noise in an existing recording first.
- Pick the English that matches the speakers, US, UK or India, for better results with accents and spellings.
- Check names, numbers and technical terms before you quote or publish a transcript.
- The text transcript is one continuous block without speaker names. For a summary with decisions and action items, use Meeting Notes.
- For short, readable captions burned into a video or added as a subtitle track, use Auto Subtitles, which splits speech into captions for you.
Works with
- In
- Audio files macOS can play (M4A, MP3, WAV, AIFF and more) and videos such as MP4 and MOV.
- Out
- A plain-text (.txt) transcript or an SRT subtitle file, named after each recording.
- Speakers aren't labelled.
- Some languages need a one-time download of the speech model, which macOS handles.
- If an MKV or WebM video can't be read, convert it to MP4 first with Convert Video.
Questions about Transcribe
How do I transcribe audio to text on a Mac without uploading it?
Drop the recording or video onto Transcribe, choose the language and whether you want text or SRT subtitles, and click Transcribe. Speech recognition runs on your Mac.
Can I make subtitles?
Yes. Choose Subtitles (SRT) for numbered, timed captions you can add to a video. To put subtitles straight onto the video, use Auto Subtitles.
Which languages can it transcribe?
English (US, UK and India), Chinese, French, German, Italian, Japanese, Korean, Portuguese and Spanish, or your Mac's own language if on-device transcription supports it.
How do I transcribe a video to text?
Drop the video onto Transcribe with Save as set to Text. The audio is taken out of the video for you, and the transcript is saved as a .txt file.
Does it show who is speaking?
No. You get the words without speaker names. Choose Subtitles (SRT) if you need to see when each part was said.
How do I transcribe a voice memo on a Mac?
Drag the recording out of the Voice Memos app into a Finder folder, then drop the .m4a file onto Transcribe.
Why does it say the language isn't supported?
On-device transcription in macOS covers a set of languages. If the one you chose, or your system language, isn't one of them yet, pick a listed language that matches the speech.
Does Transcribe upload my files?
No. Transcribe runs entirely on your Mac, so your files never leave it and it works offline.
Will Transcribe change my original files?
No. Results are saved as new files in a dated folder in Downloads › OneMacTools, and your originals are left exactly as they were unless you turn on an option that says otherwise.
What does Transcribe need?
Just a Mac with macOS 26 or later. There's nothing else to install.
Can I use Transcribe from Finder?
Yes. Right-click files in Finder and choose Quick Actions › “OMT: Transcribe”. It runs in the background and notifies you when it's done.
Do this next
Turn a meeting recording into a transcript plus notes with decisions and action items.
Auto SubtitlesTurn what's said into captions on the video, burned in for social or as a track you can switch off.
TranslateTranslate documents and subtitles offline with Apple's downloadable languages.
Related On-device AI tools
Read text out of photos, screenshots and scanned PDFs with Apple's Vision framework.
Ask a DocumentAsk a question about PDFs, scans or documents and get an answer from what they say.
Smart RenameGive scans, screenshots and photos real names from what's inside them.
Receipts to SpreadsheetRead receipts and invoices into a spreadsheet of dates, vendors, tax and totals.
Alt Text & CaptionsWrite accessible descriptions for images, for websites, documents and social posts.
SummarizeGet the short version of long documents from Apple Intelligence's on-device model.

Transcribe, plus 134 more.
One app. One price.
All 135 tools for $29, once. 14-day money-back guarantee.