
Add subtitles to a video automatically on Mac
Turn what's said into captions on the video, burned in for social or as a track you can switch off.
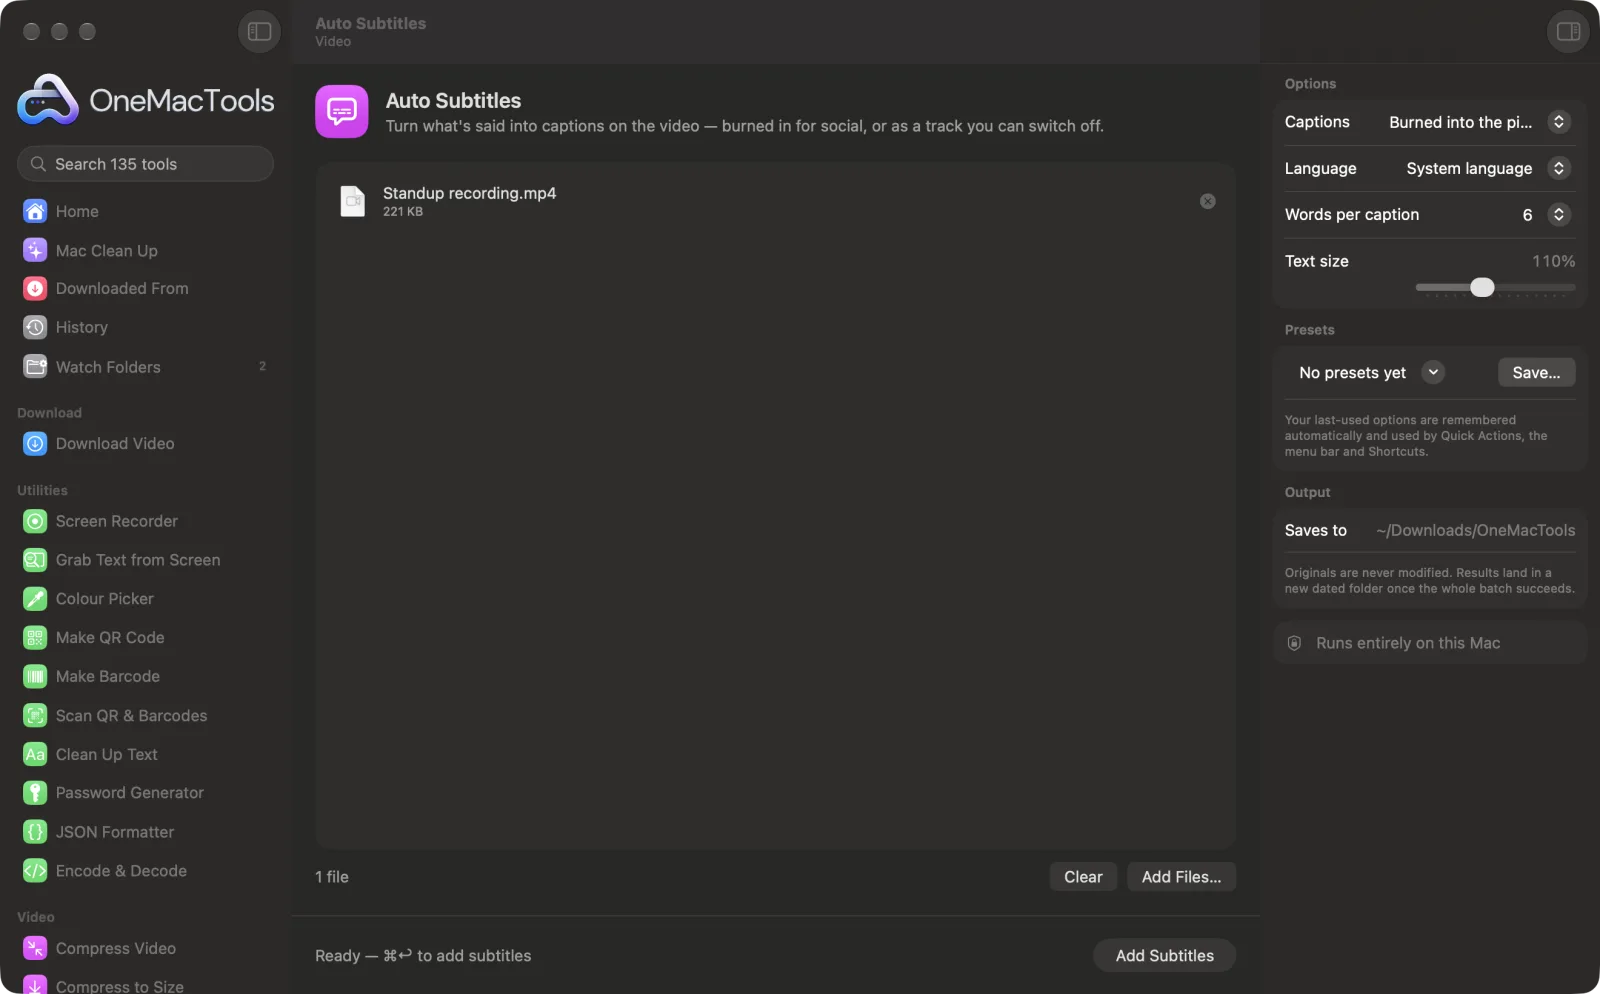
Auto Subtitles on a Mac
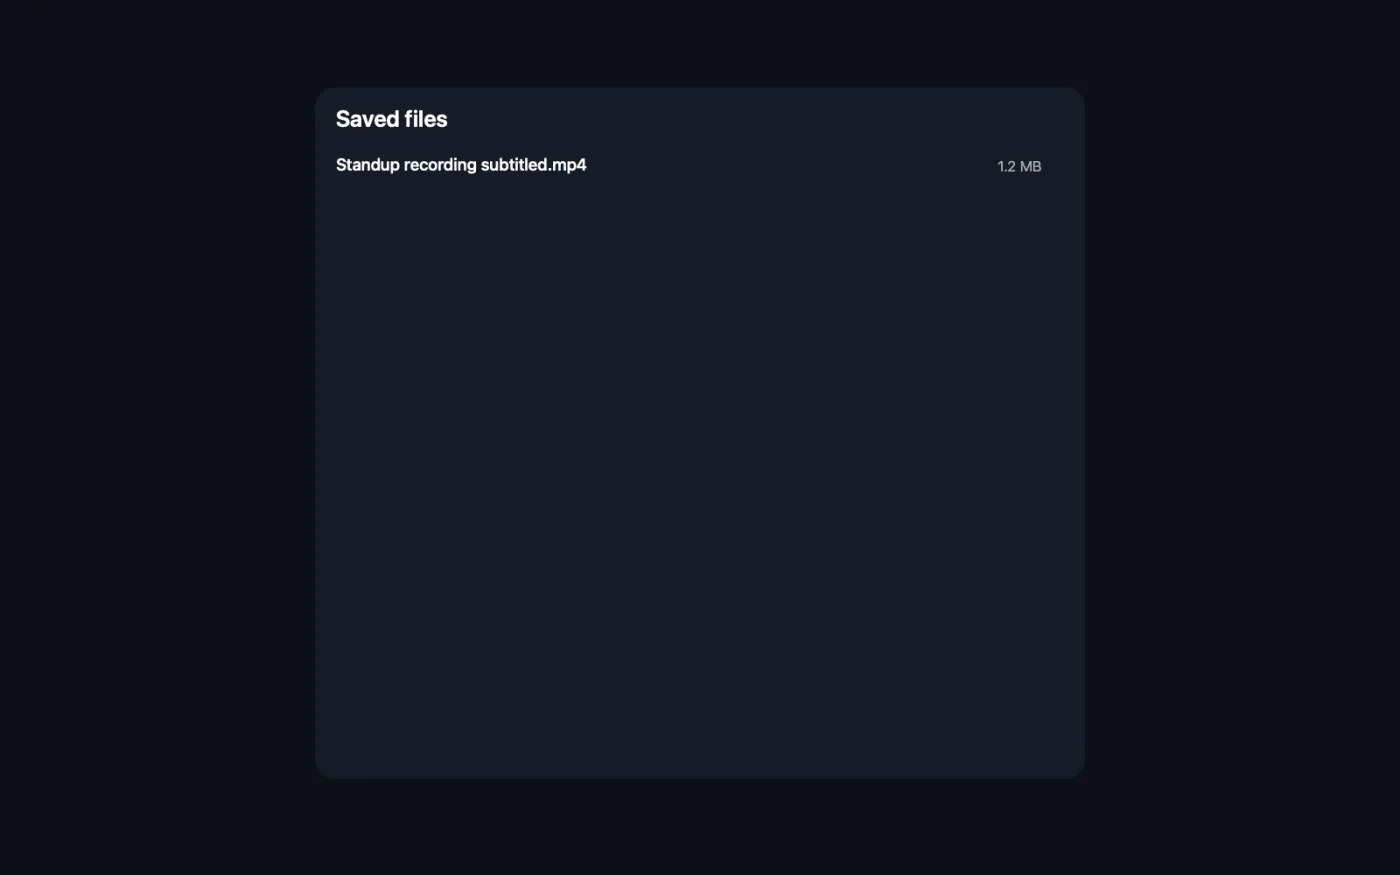
Screenshots from the app, using sample files.
How to use Auto Subtitles
- 1
Drop your videos
Add one or more videos with speech. Or right-click them in Finder and choose Quick Actions › OMT: Add Subtitles, which uses your last settings.
- 2
Choose how captions appear
Burned into the picture for social media, a subtitle track viewers can switch off, or burned in plus an .srt file.
- 3
Pick the language and style
Choose the spoken language, how many words go in each caption, and the text size.
- 4
Click Add Subtitles
The speech is transcribed on your Mac, split into short captions and added to the video. The first time you use a language, macOS may need to fetch its speech model.
- 5
Watch the result
Copies ending in “subtitled” are saved as MP4 in a new dated folder in Downloads › OneMacTools, with the .srt file too if you asked for it. Check them with the Preview (eye) button or Show in Finder. Your originals stay as they were.
What Auto Subtitles does
Auto Subtitles transcribes the speech in your video on your Mac with Apple's SpeechAnalyzer, splits it into short, readable captions and puts them on the video. Burn them into the picture for Reels, TikTok and Shorts, add a subtitle track people can switch on and off, or get an .srt file as well. Nothing is uploaded.
It's also a Finder Quick Action: right-click files and choose OMT: Add Subtitles.
Great for
- Caption a talking-head clip for Instagram, where most people watch muted
- Add switchable subtitles to a training video
- Make an .srt file to upload to YouTube
Options explained
- Captions
- Burned into the picture (the default) draws the captions onto the video so they show everywhere. Subtitle track (can be switched off) adds captions viewers can turn on and off, and needs FFmpeg. Burned in + .srt file does both: burned-in captions and a separate .srt file.
- Language
- System language (the default), Chinese, English (India), English (UK), English (US), French, German, Italian, Japanese, Korean, Portuguese or Spanish. Choose the language that's spoken in the video.
- Words per caption
- 4, 6 (the default), 8 or 10. Fewer words means shorter, punchier captions that change more often, which suits vertical social video.
- Text size
- From 50% to 200%, 110% by default, for burned-in captions. The size scales with the video, so it looks similar on a phone clip and a 4K video.
Best practices
- Clear speech with little background music gives the most accurate captions. Run Clean Up Audio on a noisy recording first if it struggles.
- For Reels, TikTok and Shorts, use 4 words per caption and a text size of 130–150% so captions are easy to read on a phone.
- Choose Burned in + .srt file if you want to proofread: fix any misheard words in the .srt, then burn it in again with Burn In Subtitles.
- Use the switchable subtitle track for training and longer videos, where viewers may want captions off.
- Set the language rather than relying on System language when the video's language differs from your Mac's.
Works with
- In
- Videos with speech that macOS can read (MP4, MOV, M4V).
- Out
- An MP4 with captions burned in or as a switchable track, plus an optional .srt file.
- Speech recognition runs on your Mac with Apple's SpeechAnalyzer; nothing is uploaded.
- The switchable subtitle track needs FFmpeg (one-click install). Burned-in captions don't.
- Burned-in captions can't be read from MKV or WebM videos; convert them to MP4 first.
Questions about Auto Subtitles
How do I add subtitles to a video automatically on a Mac?
Drop the video onto Auto Subtitles, choose the language and click Add Subtitles. The speech is transcribed on your Mac and captions are added to a new copy of the video.
Which languages does Auto Subtitles support?
English (US, UK and India), Spanish, French, German, Italian, Portuguese, Japanese, Korean and Chinese, or your Mac's system language if on-device transcription supports it.
Should I burn captions in or add a subtitle track?
Burn them in for Instagram, TikTok and Shorts, which don't show separate subtitle files. Use a subtitle track for videos where viewers might want to turn captions off.
How accurate are the captions?
Clear speech is usually transcribed well, but names, jargon and noisy recordings can be misheard. Choose Burned in + .srt file so you can correct the text and burn it in again with Burn In Subtitles.
Can I get an SRT file for YouTube?
Yes. Choose Burned in + .srt file, and upload the .srt to YouTube as a subtitle file. For the .srt alone, use Transcribe with Subtitles (SRT).
Why does it say no speech was found?
The video has no audible speech, or it's in a different language from the one selected. Check the Language setting and try again.
Does it need an internet connection?
Transcription runs on your Mac. The first time you use a language, macOS may download its speech model, after which it works offline.
Does Auto Subtitles upload my files?
No. Auto Subtitles runs entirely on your Mac, so your files never leave it and it works offline.
Will Auto Subtitles change my original files?
No. Results are saved as new files in a dated folder in Downloads › OneMacTools, and your originals are left exactly as they were unless you turn on an option that says otherwise.
What does Auto Subtitles need?
Just a Mac with macOS 26 or later. There's nothing else to install.
Can I use Auto Subtitles from Finder?
Yes. Right-click files in Finder and choose Quick Actions › “OMT: Add Subtitles”. It runs in the background and notifies you when it's done.
Do this next
Render an SRT or VTT file permanently onto the picture.
Social Video PresetsReformat a video for Reels, TikTok, Shorts, Instagram, YouTube, X or WhatsApp.
TranscribeTurn speech in audio or video into text or subtitles with Apple's on-device speech recognition.
Related Video tools
Make videos much smaller while keeping them sharp.
Compress to SizeHit a file-size limit for email, Discord or WhatsApp. Pick the size, not the quality.
Convert VideoTurn any video into MP4, MOV, WebM or MKV.
Trim VideoKeep just the part you need.
Resize VideoScale videos to a standard resolution.
Crop VideoCentre-crop to square, vertical or widescreen for any platform.

Auto Subtitles, plus 134 more.
One app. One price.
All 135 tools for $29, once. 14-day money-back guarantee.