
Screenshot and annotate on Mac
Capture an area or window with ⌃⌥⌘S, then add arrows, boxes, text, numbered steps, blur and crop.
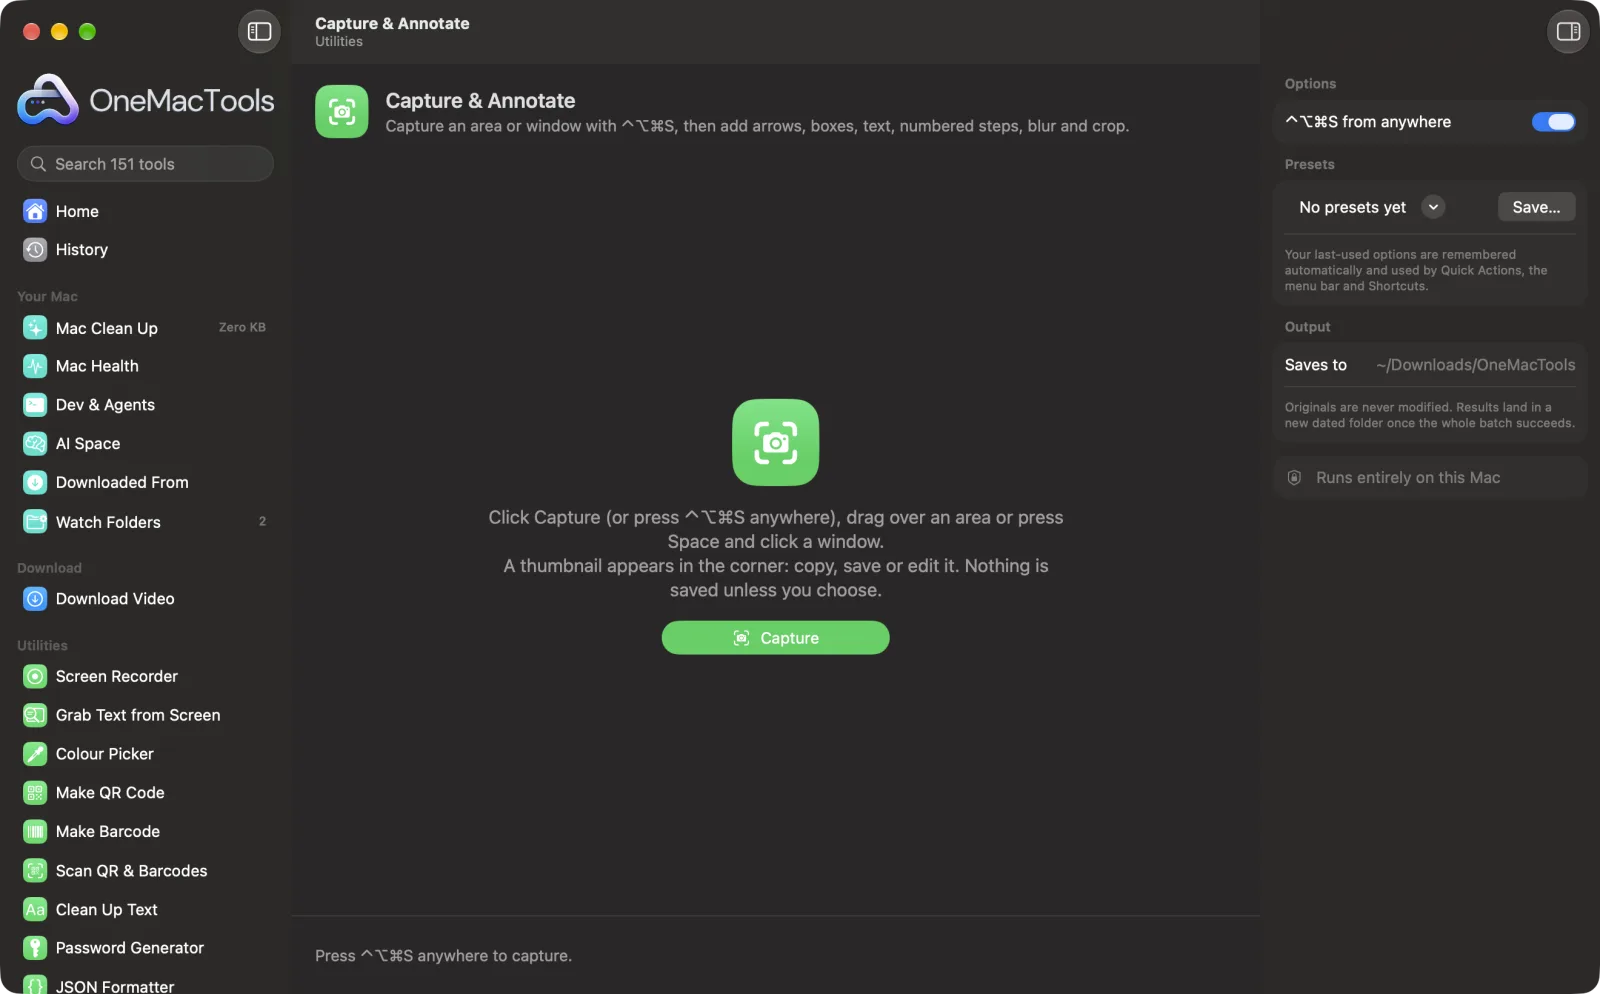
Capture & Annotate on a Mac
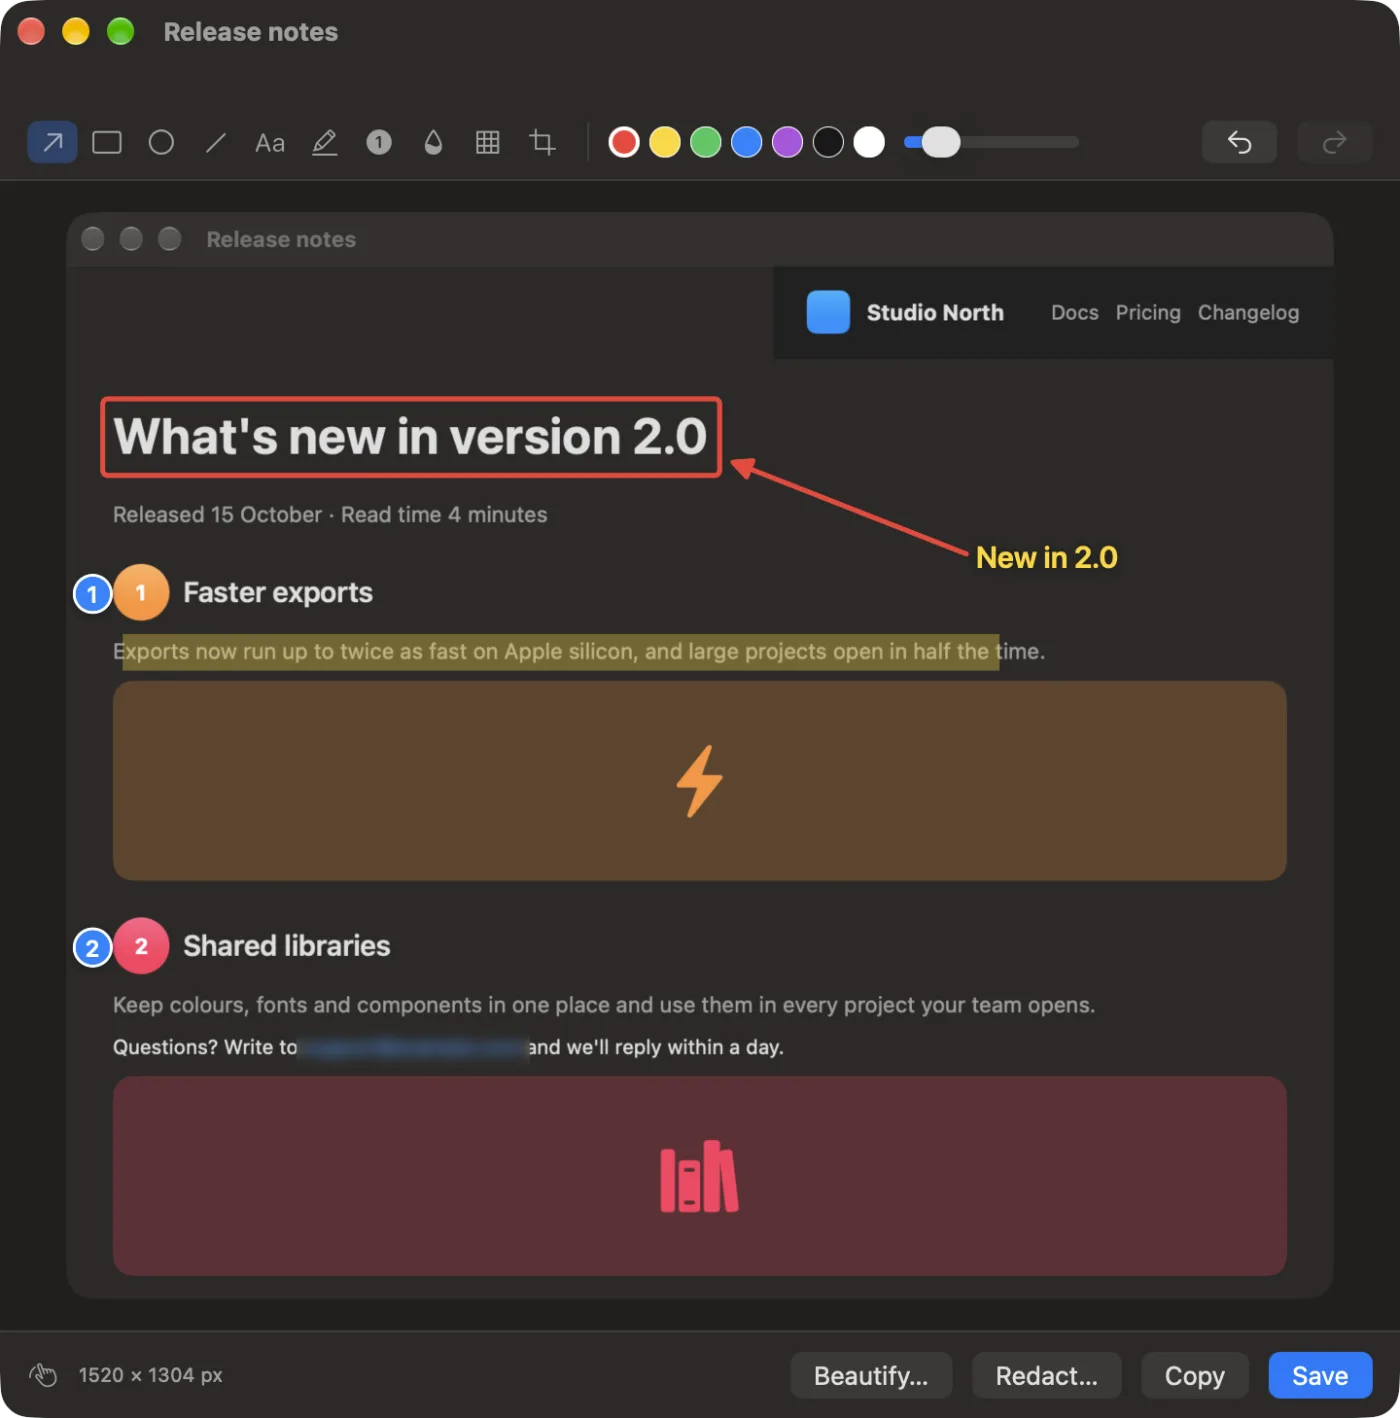
Screenshots from the app, using sample files.
How to use Capture & Annotate
- 1
Press ⌃⌥⌘S
From any app. Or click Capture in the tool, or choose Capture & Annotate in the menu bar icon's menu.
- 2
Choose what to capture
Drag over an area, or press Space and click a window. Esc cancels.
- 3
Use the thumbnail
It appears in the bottom-right corner: Copy, Save, Edit, or drag it straight into another app.
- 4
Mark it up
In the editor, pick a tool and drag: arrows, boxes, ellipses, lines, highlighter, blur, pixelate. Click for text or a numbered step.
- 5
Copy or save
⌘C copies the finished picture, ⌘S saves it with your screenshots. Beautify… and Redact… send it to those tools.
What Capture & Annotate does
Press ⌃⌥⌘S anywhere, drag over an area or press Space and click a window. A thumbnail appears in the corner: copy it, save it with your other screenshots, drag it into an app, or click Edit. The editor adds arrows, boxes, ellipses, lines, text, a highlighter, numbered steps, blur and pixelate, and crop, with undo. Then copy, save, or send it to Screenshot Beautifier or Redact Images. Nothing is saved unless you choose to.
Asks for Screen Recording permission the first time you use it.
Great for
- Point at a bug in a screenshot for a developer
- Write step-by-step instructions with numbered badges
- Hide an email or name before sharing a screenshot
Options explained
- ⌃⌥⌘S from anywhere
- On by default. Turn it off if another app uses that shortcut; Capture & Annotate stays in the menu bar icon's menu.
Best practices
- Press Space after ⌃⌥⌘S to capture a whole window with its shadow, without dragging.
- Numbered steps count up by themselves (1, 2, 3…), so clicking in order makes instructions in seconds.
- Blur or pixelate names, emails and tokens before sharing; it's baked into the saved picture.
- Use the highlighter on lines of text: it tints without hiding the words.
- The thumbnail stays while the pointer is over it, and goes after 8 seconds otherwise. Nothing is saved unless you choose.
Works with
- In
- Any area or window on your screen.
- Out
- A PNG, copied, saved with your screenshots (Desktop unless you changed it), or dragged into an app.
- Needs the Screen Recording permission, asked once.
- The editor works at the picture's full resolution.
Questions about Capture & Annotate
How do I annotate a screenshot on a Mac?
Press ⌃⌥⌘S, drag over what you want, then click Edit on the thumbnail. Add arrows, boxes, text, numbered steps or blur, and copy or save it.
How is it different from macOS's ⌘⇧4?
It uses the same selection, then adds an editor with numbered steps, blur and pixelate, and buttons to send the picture to Beautifier or Redact.
Where are screenshots saved?
In the same folder as macOS screenshots: your Desktop, unless you changed it in the Screenshot app's options.
Can I blur part of a screenshot?
Yes. Choose Blur or Pixelate and drag over the part to hide. It's applied to the saved picture, so it can't be undone by someone else.
Can I change the shortcut?
You can turn ⌃⌥⌘S off in the tool; the menu bar icon's menu always offers Capture & Annotate.
Is anything uploaded?
No. Capturing and editing happen on your Mac.
Does Capture & Annotate upload my files?
No. Capture & Annotate runs entirely on your Mac, so your files never leave it and it works offline.
Will Capture & Annotate change my original files?
No. Results are saved as new files in a dated folder in Downloads › OneMacTools, and your originals are left exactly as they were unless you turn on an option that says otherwise.
What does Capture & Annotate need?
Just a Mac with macOS 26 or later. There's nothing else to install.
Do this next
Put screenshots on a gradient with padding, rounded corners and a soft shadow.
Redact ImagesBlack out emails, phone and card numbers, chosen words and faces in screenshots and photos.
Scrolling ScreenshotCapture a whole long page or chat as one tall image: it scrolls by itself and joins the pieces.
Related Utilities tools
Record a window, an app or the whole screen, with sound, as MP4 or GIF.
Grab Text from ScreenDrag over anything on screen — a video, a photo, a locked PDF — and copy the text in it.
Colour PickerPick any pixel on screen and copy its colour as HEX, RGB, HSL or code.
Make QR CodeTurn a link, some text or Wi-Fi details into a crisp QR code.
Make BarcodeMake Code 128, EAN-13, UPC-A, PDF417 and Aztec barcodes for labels, products and tickets.
Scan QR & BarcodesRead QR codes and barcodes from photos, screenshots and PDFs.

Capture & Annotate, plus 150 more.
One app. One price.
All 151 tools. Free download, one payment for a licence. 14-day money-back guarantee.