
Add a border to photos on Mac
Pad photos with an even white, black, coloured, blurred or transparent border.
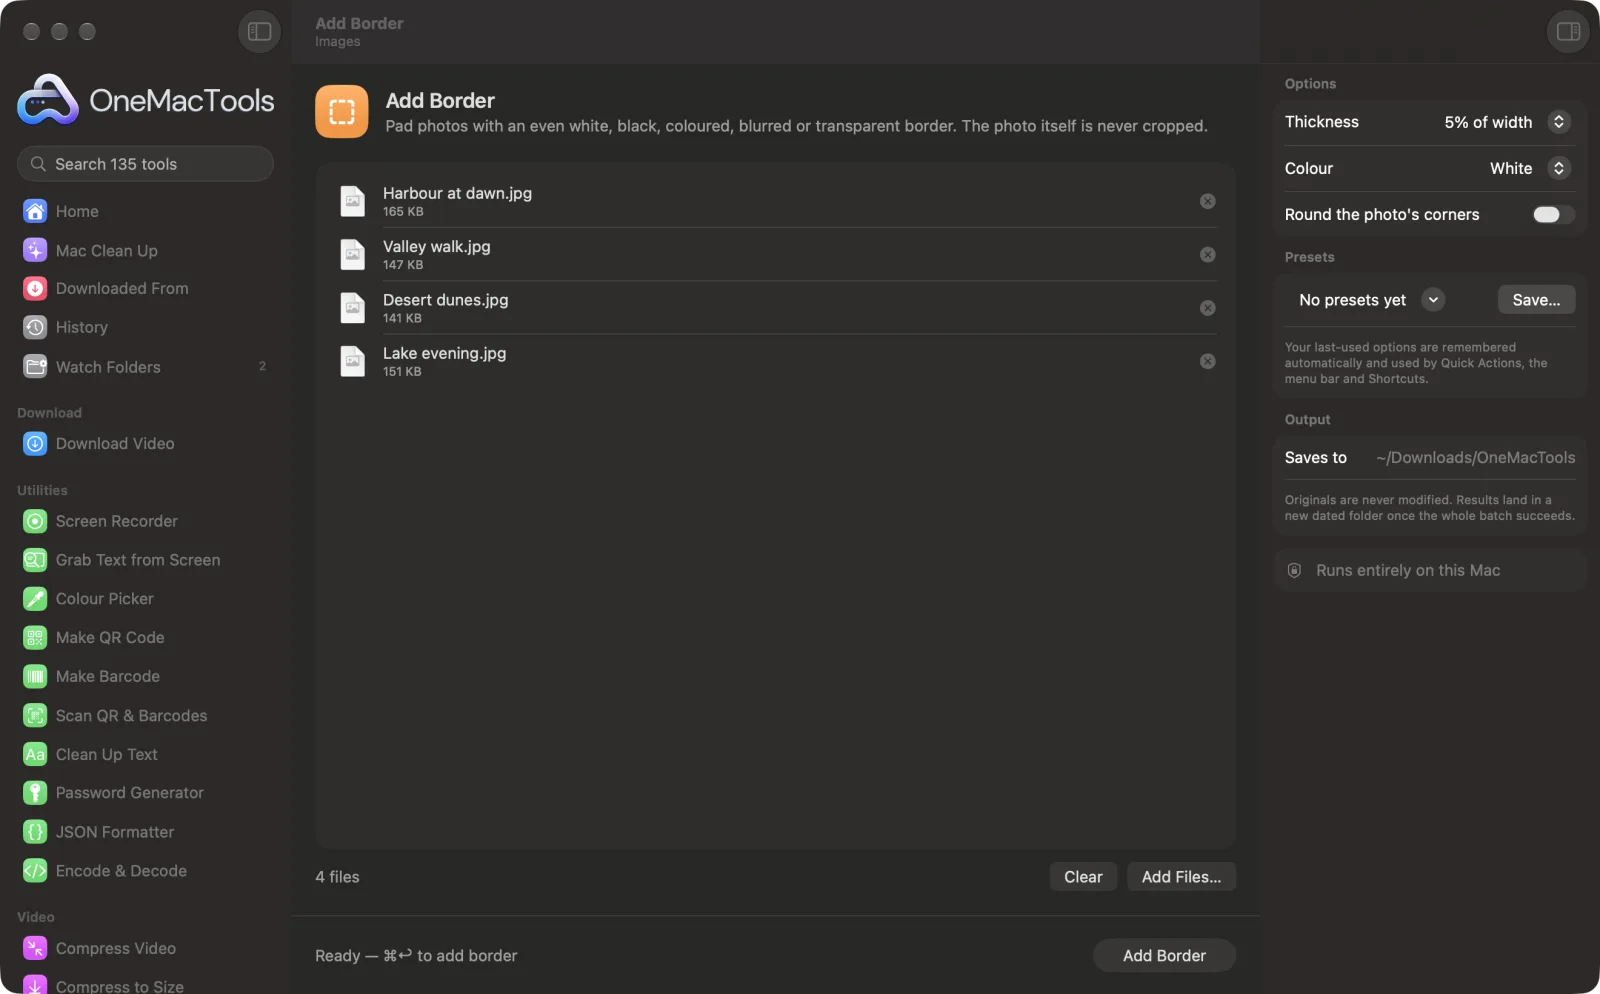
Add Border on a Mac
Screenshots from the app, using sample files.
How to use Add Border
- 1
Drop your photos
Drag in one photo or a whole batch. Each one gets its own bordered copy.
- 2
Choose the thickness
Pick a fixed size in pixels, or a percentage of the width so photos of different sizes get borders that look the same.
- 3
Choose the colour
White, black, transparent, a blurred copy of the photo itself, or Custom with your own hex colour. Turn on rounded corners if you want a softer look.
- 4
Click Add Border
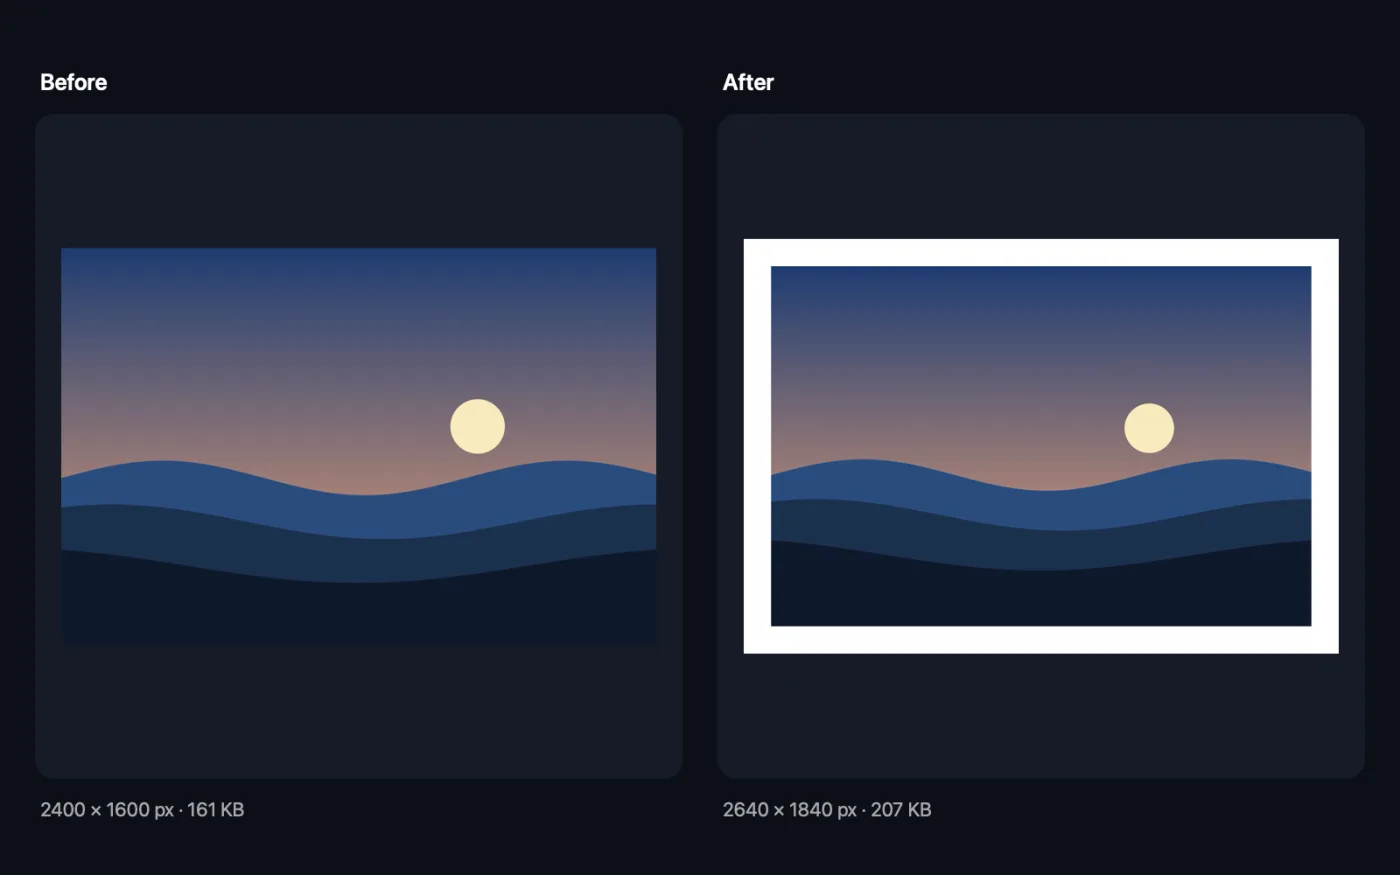
The canvas grows outwards by the border on all four sides, so nothing in the photo is cropped.
- 5
Open the results
The bordered copies are saved in a dated folder in Downloads › OneMacTools. Use the Preview (eye) button to check them, or Show in Finder.
What Add Border does
The canvas grows outwards, so the photo itself is never cropped. Choose a thickness in pixels or as a share of the width, so a batch of different sizes looks the same, and a white, black, custom, blurred-photo or transparent border. Optionally round the photo's corners.
Great for
- Give photos an instant-print look
- Add breathing room around logos
- Make product photos sit nicely in a grid
Options explained
- Thickness
- How wide the border is on every side: 10, 20, 50 or 100 px, or 2%, 5% or 10% of the photo's width. The default is 5% of width, which keeps a batch of mixed sizes looking consistent. The percentage is worked out from the width and applied to all four sides, so the border is always even.
- Colour
- White, Black, Transparent, Blurred photo or Custom. Blurred photo fills the border with a soft, slightly darkened blur of the same picture. Transparent saves a PNG so the border can sit on any background.
- Colour (hex)
- Only shown when Colour is Custom. Type a hex value such as #F4E9DC, or a simple name like grey, red, blue or yellow. If the value can't be read, the border falls back to white.
- Round the photo's corners
- Rounds the corners of the photo inside the border, by a small amount relative to its shorter side. The corners show the border colour, or stay see-through with a transparent border.
Best practices
- Use a percentage thickness for batches. A 20 px border looks thick on a small image and thin on a 4000 px phone photo; 5% of width looks the same on both.
- For an instant-print look, use a white border at 5–10% of width, then make the bottom deeper by cropping or placing it in a collage.
- Blurred photo works well for social posts: the edges pick up the photo's own colours, so it never clashes.
- Choose Transparent with rounded corners when you want a rounded photo to drop onto a web page or slide.
- Borders on a JPEG are saved as JPEG at high quality. If you'll edit the file again later, start from a PNG to avoid compressing it twice.
Works with
- In
- JPEG, PNG, HEIC, TIFF, WebP and other images your Mac can open.
- Out
- A copy named with “border” added. It keeps the original's format where it can (JPEG, PNG, HEIC, AVIF or TIFF) and is saved as PNG otherwise, or whenever the border is transparent.
- The photo is never cropped or scaled; the image just gets bigger by twice the border width.
- The copy doesn't carry over the original's camera details or location.
Questions about Add Border
How do I add a white border to a photo on a Mac?
Drop the photo onto Add Border, leave Colour on White, choose a thickness and click Add Border. You get a new copy with an even white frame on all four sides.
Does adding a border crop my photo?
No. The canvas grows outwards to make room for the border, so every pixel of the original photo is still there.
Can I add the same border to many photos at once?
Yes. Drop them all in together. Choose a percentage thickness so the border looks the same whatever each photo's size.
How do I add a coloured border?
Set Colour to Custom and type a hex value such as #1E90FF into Colour (hex). A few names like black, grey, red and blue work too.
Can the border be transparent?
Yes. Choose Transparent and the copy is saved as a PNG with see-through padding, which is useful for adding space around a logo or cut-out.
What does the Blurred photo border do?
It fills the border with a blurred, slightly darker version of the same photo, so the frame matches the picture's colours instead of being a flat colour.
Does Add Border upload my files?
No. Add Border runs entirely on your Mac, so your files never leave it and it works offline.
Will Add Border change my original files?
No. Results are saved as new files in a dated folder in Downloads › OneMacTools, and your originals are left exactly as they were unless you turn on an option that says otherwise.
What does Add Border need?
Just a Mac with macOS 26 or later. There's nothing else to install.
Do this next
Give photos a look — warm, cool, vivid, moody, vintage, black & white — with fade, grain and vignette.
Photo CollageArrange photos into a neat grid, row or column.
Social Media Image ResizerOne photo in, every size out: Instagram, YouTube, X, LinkedIn, Facebook, WhatsApp and Pinterest.
Related Images tools
Convert between PNG, JPEG, HEIC, AVIF and TIFF. Reads WebP, RAW and more.
Compress ImagesShrink photos for email and the web, with a live before-and-after preview.
Convert to WebPMake small, web-ready WebP images, lossy or lossless, with transparency kept.
Resize ImagesResize by longest edge, exact pixels, percentage, or print size in cm, mm or inches at the DPI you need.
Crop ImagesCrop to an aspect ratio or an exact area, or trim plain borders automatically — one photo or a whole folder.
Rotate & Flip ImagesTurn or mirror photos in one go.

Add Border, plus 134 more.
One app. One price.
All 135 tools for $29, once. 14-day money-back guarantee.